
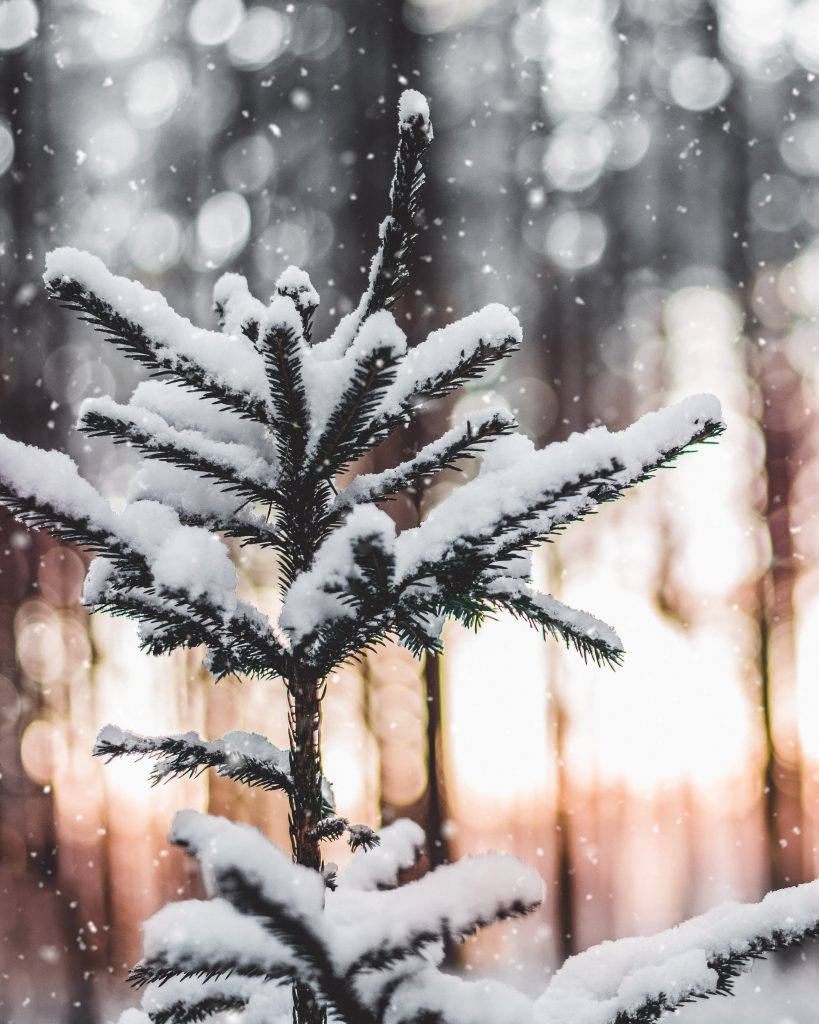
Winter is closing in, it’s nearly December. That means it’s time to think about winter photos to post in your feed. And what are winter photos without some snowfall? Whether you have a snowy photo that craves some action, or a photo that’s nowhere close to winter, you can spice up those photos by adding falling snow. I’ve done it to my last year’s winter photos for my macro Instagram account too. And I’m more than happy to teach you the practices on how to add snow to your photos for this winter. I will be talking about mobile applications, so that you can get the best result without leaving your couch! ❄️
TABLE OF CONTENTS
Adding snow through Lens Distortions app
The most obvious way is to use an app designed for applying overlays to photos, isn’t it? Lens Distortions is an app that I occasionally use to add overlays, sunshine and especially snow to my photos. I also mentioned it in my blog post when I talked about how I edit photos for my Instagram.
Using the app is very easy. You can choose your preferred overlay, and after applying it – change opacity, warmth and other properties of the overlay. It’s possible to combine up to 3 overlays on a single photo. Take a look of a screenshot from the application below.

Adding snow with PicsArt App
Available for Android, iOS, Windows.
If you want more options on adding your overlays, you can also use PicsArt application. There is more than one way to acquire snowfall effect on your photo. Stay with me to find out about them all!
Using a brush to add snow
PicsArt has the option to draw snow into your photo by using brushes. Through this option you can not only add snow, but also bokeh, sparkle and other effects to your photos. Take a look at the video below to see how easy it is!
Here’s what I did:
- Choose Brushes
- Search for, and select your preferred brush. I chose the one that represents snow
- Draw your finger over the places you want the brush to be applied on. The brush works as randomized stamps. That means you can also tap on the areas you want the overlay on
- If the overlay got applied on a place you don’t want it on – fear no more! You can use the eraser tool to delete the overlay from any place you want. Zoom in for more precision.
The result of this quick edit can be viewed below.


Using stickers to add snow
Another option is to use stickers that other users or PicsArt themselves have prepared. Here’s how I did that:
- Use the Sticker option to search for an overlay. I searched for snowfall
- Rotate and scale it how you please to find the best look for your photo. You can decrease the opacity of the overlay, as well as change the hue, warmth and other properties of it.
- If the overlay has black background – you will need to change the blend mode to screen. I will show it in the next option I describe
- Use the eraser tool to delete some unwanted parts of the overlay as I did in the video below
See the comparison below for how this edit turned out:

Using custom overlay images to add snow
If any of the application’s offered overlays don’t work for you, there is one more way to do it.
1. Download overlays that you like from Internet. You can search for “free photoshop snow overlays” or a similar search phrase to find any that you like
2. In the PicsArt application tap on the Add Photo option

4. Search for a photo that you have downloaded and choose it
5. If the overlay has black background, you need to tap on Blend and change the blend mode to screen. The black background will disappear

6. If you want to make any alterations to the overlay, you can choose the Adjust option. From there you can change such things as contrast, saturation, hue and many more.
7. Just like in the previous way I described, you can also delete any unwanted parts of the overlay by using eraser tool. You can also reduce the amount of overlay in some spots by using an eraser tool with reduced opacity.
You can see the comparison below for the difference this overlay made
More tips for better snow overlay result
To have the effect look more real, feel free to combine multiple overlays at decreased opacity. You can also add an overlay with smaller snow particles on the parts where the background is further away, and add another one with bigger particles on the foreground.
Of course besides all the options, there is also the option of doing it on a computer. But the result and the process would be very similar to the last option I described. So if you don’t have a computer accessible, you’re not really missing out on anything much.
Conclusion
Did you know all of these options for adding snow to your Winter photos? I’m hoping I have prepared you with enough ideas for reviving your boring winter photos with some action and snow. The only thing left is to open one of these applications and do it! [Insert “Just Do It” meme here in your head]
2 responses to “How to add snow to your photos using mobile phone”