Have you ever thrown away a photo that you liked, but it just wasn’t successful enough to post? If you used improper settings or didn’t plan the scenery and resulted in a photo that could have been better, I have something to tell you. There’s a chance you can easily fix photos that are unsuccessful or seem failed if you have the right tools.
In my blog posts I’ve been talking a lot about editing your photos in terms of colors, effects and other such things. But this time I’m here to talk about different kind of editing. Such editing that would still be needed even if you post natural photos with no editing, because sometimes that is not possible. Especially not for photos who have problems you need to fix like noise, distractions, wrong framing, blurred subject due to the camera shake and even overexposed or underexposed photos. But did you know that all of those can be fixed with the right tools? I have been fixing all of those in my photos, and I will share the tools I use for these enhancements.
TABLE OF CONTENTS
Fix photos with shake using Adobe Photoshop’s shake reduction
If your camera has moved while taking the photo, or your subject/whole frame is slightly blurry, there is a chance that you can recover it.
How to use shake reduction tool on Adobe Photoshop to fix your photo:
- Choose Filters -> Sharpen -> Shake reduction
- You can tweak the settings if you are not satisfied with the preview, but I mostly leave it as it is
- Click OK. This might take a while, depending on your computer
The first time I tried shake reduction was only the summer of last year. I was sceptical about it too, just as you might me. But wow, it really works! Let me show you an example.
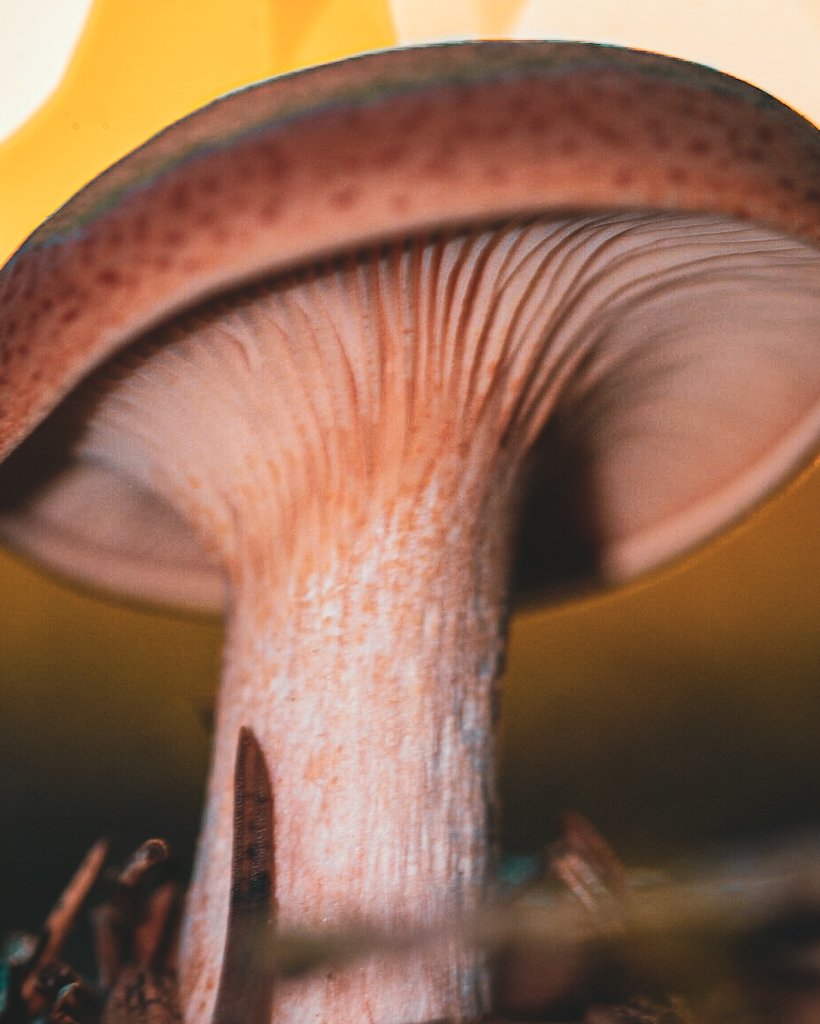
I shared this photo on my story thinking that I won’t be posting it in my feed with the mushroom being that blurry. It’s because I captured it with long shutter speed of 1/6 second. How surprised I was to see the photo actually get fixed up so nicely after using shake reduction on Photoshop!
Fix unsuccessful photo framing using Adobe Photoshop’s content aware fill
Did you frame your subject on the wrong position in the frame? Or got too close so that you can’t reframe it by cropping? There is a fix. You can expand the background by using Photoshop’s content aware fill. The simpler the background is, the easier it will be.
How to extend the frame using Adobe Photoshops Content aware fill:
- Use Crop tool to set the aspect ratio to one you want, expand one or multiple sides of the photo and apply
- By using Rectangular Marquee tool, select the expanded white areas of your photo. To Combine a selection in your already selected area, hold shift
- Either press Shift + F5 or go to Edit -> Fill
- Choose Content aware under “Contents”
- Click OK
- Unselect everything using ctrl+D
- If you’re not satisfied with the result, you can use Lasso tool to select any area and repeat the process
Alternatively to step 3 you can choose Edit -> Content-Aware Fill to tell Photoshop which areas of the picture you want it to use when filling the area. I will describe this feature later in this post.
Take a look at a photo I recently shared in a before and after blog post. Since I framed the mushroom in the center of the frame, I wasn’t able to crop it in so that it’s following the rule of thirds. So I expanded the photo in Photoshop and then carried on with editing it.
If you are curious to see more examples of how an edit is done by expanding the frame, visit my previous blog post. I have shared more than one edit that I have expanded the frame for.
10 Inspirational Before and After Editing Photos From My Instagram #7
Fix photos with noise using Topaz Denoise AI
Noise is something every photographer has dealt with. Either you had to set your ISO higher to get a brighter photo, or the original was dark and you brought the brightness up. These, and many more situations can result in noise / grain in your photos. Earlier I thought there is nothing you can do about it except try to blur it off or use denoising tools in Photoshop or Lightroom (which eats up the detail in the photo too). Until I discovered Topaz Labs tools, and in this case – Topaz Denoise AI. As always I was very skeptical about this tool, since there just can’t be as magical tool that does it all perfectly. Well, there can.
Topaz Denoise AI gets rid of the noise in your photo while maintaining the details on your photo in perfect condition. You can use the settings on Auto or tweak them yourself to find the most suitable result. Let me show you a simple example of how well the app removes background noise in a photo. The photo below has been zoomed in on 100%:

If you think that you don’t need to remove noise in your photos, because you post them on Instagram and that’s it – you may be right. But you do need to deal with noise when viewing a photo fully zoomed in if you plan to sell your photos on stock photo sites (such as ShutterStock) or if you plan to sell prints of your photos. Because when printed, you want them to look as good as possible when viewed up close.
Let me show you an even crazier example of how the tool removed some horrible noise from my photo (which was almost pitch-black out of the camera):

Fix overexposed or underexposed photos
In case you weren’t ready for a shot and your settings were totally wrong for a scene, you still can recover it. How – you may ask?
This one is possible with a little bit of pre-preparation with your camera. If you photograph your photos JPEG only, change it to JPEG+RAW (or RAW only if you prefer that). Next time you go out to take some photos and a scene comes with you unprepared – don’t be afraid to just shoot.
But why is JPEG not compatible with recovering a photo?
JPEG is a compressed photo of what RAW photo stores. That means you lose so much detail/information when working with a JPEG photo from the beginning. A RAW photo will still store the color that was in the sky even though it may appear totally white. Want to see an example? See for yourself:
I was following this squirrel in the shadows when it suddenly run into a brighter area to drink up. I didn’t think about any settings, I just snapped photos. When I looked at them, I said “No way I can recover this”. But I did, and so perfectly no one wouldn’t even suspect.
Fix distractions in your photos, even behind your subject
The surroundings of our photos aren’t always perfect. Often you will have something in your photo that you want to get rid of. If that’s something near the corner of your photo, it’s quite easy to get rid of. But a more challenging situation occurs when you want to remove something behind your main subject. But there are multiple ways to achieve a great result, and I’ll share them to you.
Removing distractions in photos by using heal tool in Adobe Lightroom
Adobe Lightroom (both desktop and paid mobile version) offers a tool called “Healing”. Within this option you can draw over an area you want removed, and the app will try to find a suitable area to take the replacement from. You can also switch between cloning and healing. Cloning will basically replace the area with a different area. Meanwhile healing will replace it with matching colors and brightness to make the transition more smooth. A disadvantage to the healing tool appears when you try to use it near an object that you don’t want removed – it will blur the area a lot.
To remove distractions behind a subject, you need to use cloning tool first – near the object. Afterwards you have to use healing tool to smoothen all the transient areas. I have described this approach more thoroughly (and with photo examples) in my blog post 5 Lightroom mobile tips you might not know.
Here are some examples of what I achieved by using only Adobe Lightroom
Removing the background of these tulips was quite a challenge. If you look at the photo from further away, you can still see all the imperfections. You can tap here to open Lightroom and see a step-by-step tutorial on how I edited this photo.
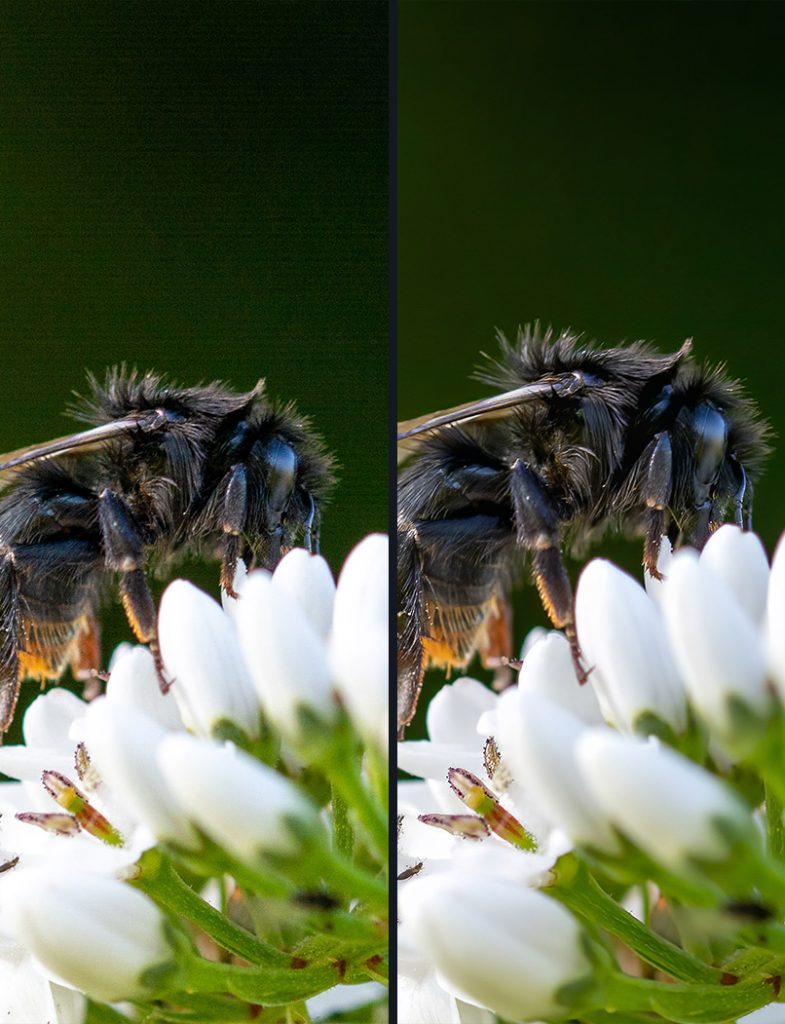
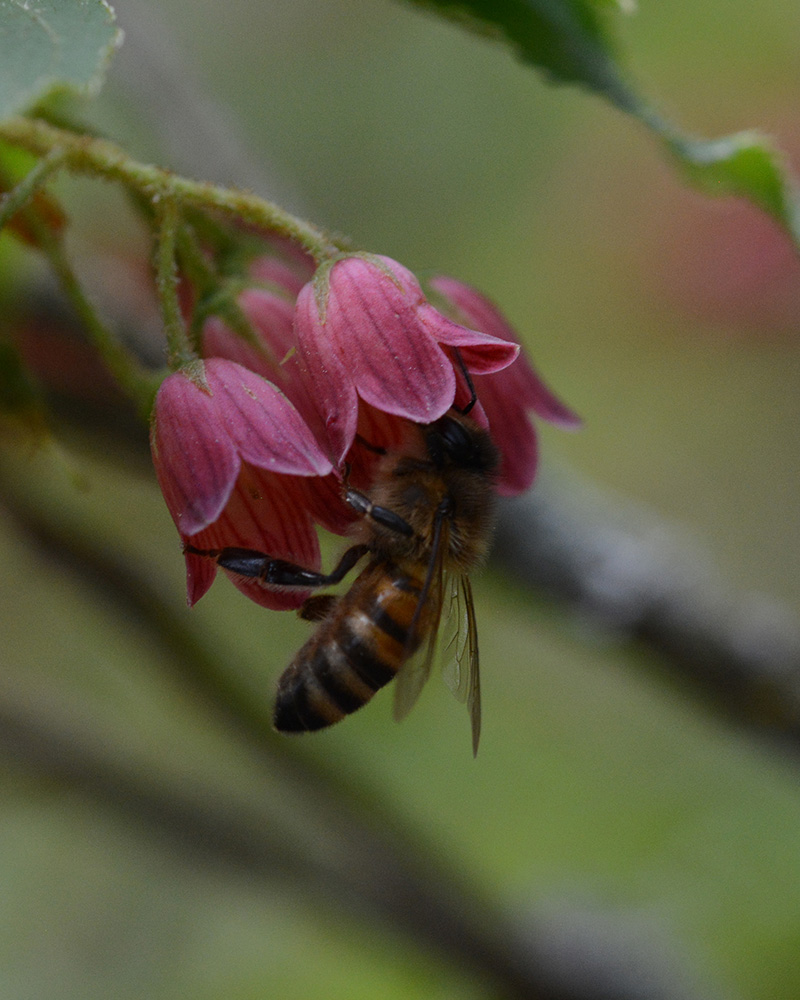
Since the edit is done in Lightroom only, you can still see the spots where the branches started near the wings of the bee. If I were to use Adobe Photoshop’s content removal approach, the result would have been much better.
Removing distractions in photos by using content aware fill in Adobe Photoshop
Adobe Photoshop’s content aware fill is more advanced and can fix areas in your photos more precisely. I will guide you through the steps to remove a distraction with Adobe Photoshop:
- Select an area you want removed by using Lasso tool.
- Either choose Edit -> Fill, or press Shift + F5 on your keyboard
- Under Contents choose Content-Aware
- Click OK
This will replace the area with what Photoshop thinks is the most suitable area. But it won’t work so well near objects.
When you want to remove background behind a subject, you have to use a little bit different approach:
- Select an area you want removed by using Lasso tool. Alternatively you can also use Object selection tool (under magic wand (W) selection) and by holding shift – combine multiple object selections. Ctrl + Shift + I inverts your selection.
- Choose Edit -> Content-Aware Fill…
- Now you can see what Photoshop has selected as an area to get the replacement from (the green area)
- Use the (+) icon to switch to a brush that adds to your area that Photoshop can use as a replacement
- Use (-) icon to switch to a brush that removes from the area that Photoshop can use as a replacement
- When finished with adding areas to choose from, and removing the areas you don’t want used, you should see a result on the right side
- If the result satisfies you, click OK
- If a transition in the background doesn’t satisfy you, you can merge the layers (or flatten the image) and in Filter -> Camera Raw Filter use healing brush tool to smoothly clone the transition. This tool is equivalent to Adobe Lightroom’s healing tool.
If you use this approach, the replacement background will be added as a new layer
Here is an example of what I achieved by using content aware fill in Photoshop
Since I wasn’t satisfied with cropping off the whole left side of these mushrooms due to the object behind them, I turned to Photoshop. As an addition of object removal, this photo also was focus stacked, which is a really great method of having all of your subject in focus, while maintaining shallow depth of field. If you haven’t seen my tutorial on focus stacking, tap here!
Removing distractions in photos by using other Adobe Photoshop techniques
Content aware fill isn’t the only way to remove distractions in Adobe Photoshop. There are two more I will show you.
Spot removal tool in Camera Raw Filter
The Camera Raw filter (accessible from Filter -> Camera Raw Filter) is basically an equivalent of the whole Adobe Lightroom application. And just like in the Lightroom app, you can also use spot removal tool in Photoshop. It functions the exact same way Lightroom healing tool does.

Spot removal tool in Camera Raw Filter
Spot healing brush tool
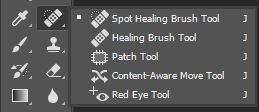
If you choose spot healing brush tool (J), you can quickly get rid of elements that are bothering you. Let those be dusts, tiny branches or pimples on someone’s face. The tool uses the same technique as Content Aware Fill I described previously.

Spot Healing Brush Tool tool in Adobe Photoshop
Conclusion
I used to edit my photos only in Lightroom without help of any external tools. Boy how much better my photos would have been if I had known about these tools earlier! Even photos I edited in last Summer are super noisy when zoomed in. Now – not so much thanks to the noise reduction in Topaz Denoise AI. I bet some of these tools were new to you, and maybe will change the way you edit your photos.
Did I miss describing a fix to a big problem you face with your photos? Be sure to send me a message on Instagram and if I have a solution, I’ll consider adding it in!


